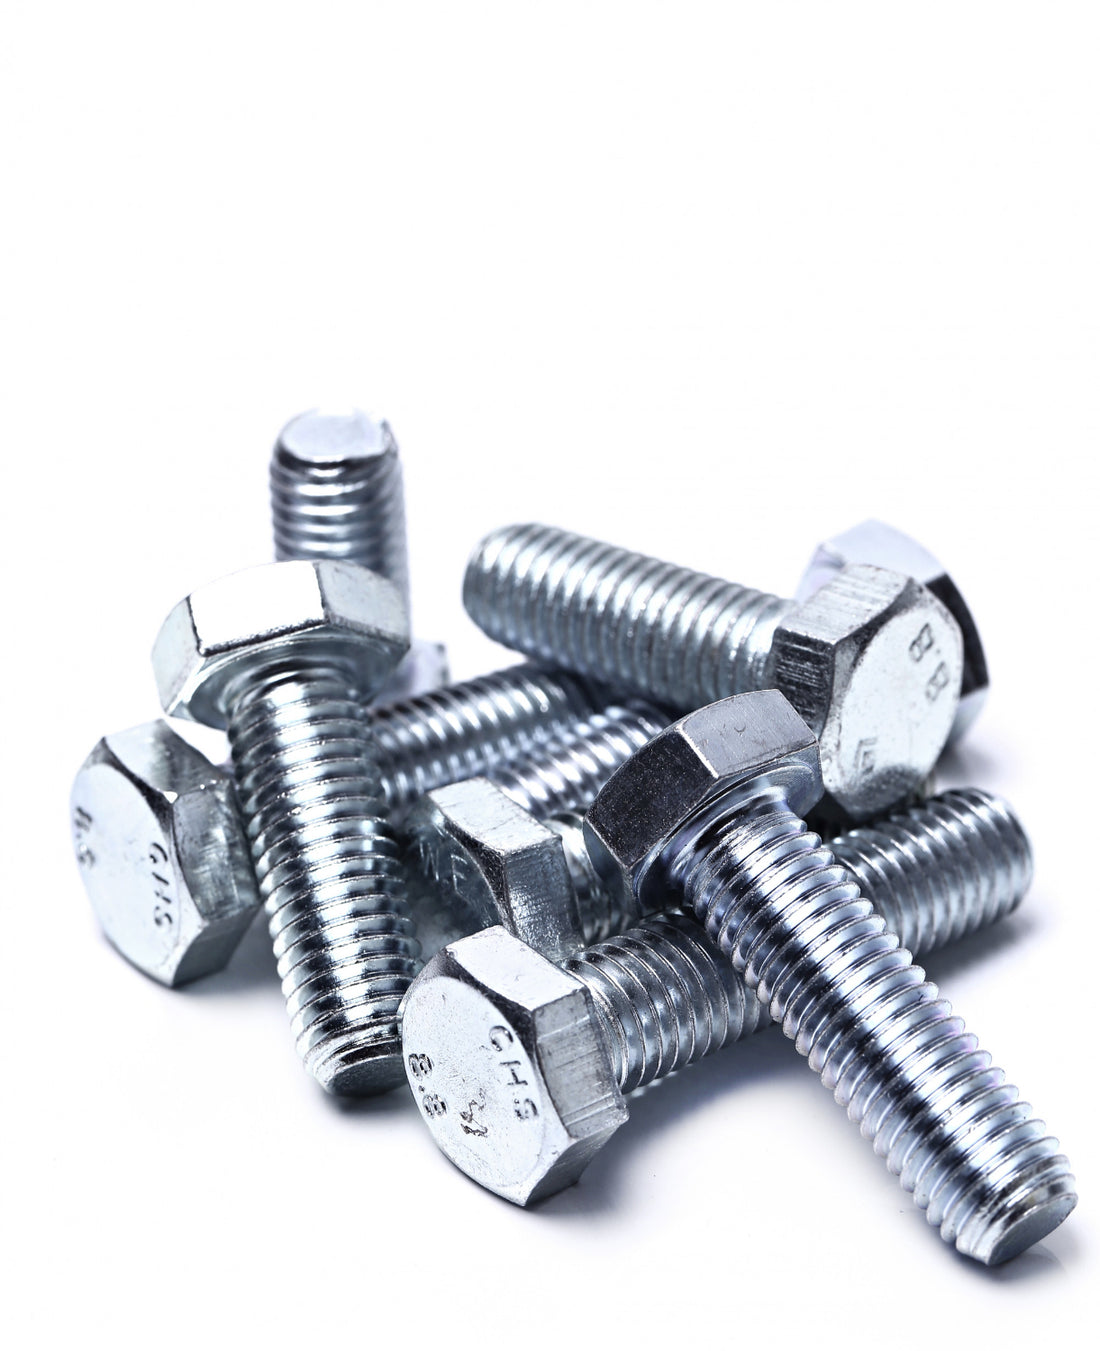
In one of our previous blogs we talked about how to create a simple bolt and nut in Tinkercad. You can find it here.
Today, we address a common challenge faced by designers—how to extend the length of threads beyond Tinkercad's default limit of 20 rotations.
First, why did we choose Tinkercad for these tutorials?
Tinkercad stands out for its intuitive interface, pre-existing basic shapes, and accessibility, making it an ideal choice for those new to 3D modeling. Despite its simplicity, Tinkercad offers a range of functions that cater to both beginners and seasoned designers.
Let's Dive In!
Step One: Begin by shaping your threads to your desired specifications—adjusting diameter, pitch, segments, and rotations. Refer to our previous blog for more detailed information.
Step Two: Select the threads you just created and duplicate them. Duplicate the threads by clicking the icon at the top left (three squares stacked) or using the shortcut "Ctrl+D."
Step Three: Change the Snap Grid at the bottom right-hand side of the screen to 0.1mm to optimize control over the piece movement.
Step Four: Move the duplicated threads upward, ensuring seamless overlap of the threaded sections to maintain functionality.
Step Five: Repeat this process until you have reached the desired thread length.
Step Six: Group the polygon and stacked threads by selecting them and using the grouping function (icon at the top right or "Ctrl+G"). The icon at the top right looks like a square and circle combined with no line between them.
Step Seven: Print!
For a visual guide, we've attached a helpful video demonstrating each step. Should you have questions or wish to propose a new tutorial, feel free to comment below contact us here or email us at contrive3d@gmail.com.
As always, you can check us out at contrive3d.com and if you want to order Hatchbox3D 1.75mm 3D printing filament to print the projects you create in Tinkercad, you can do so here.
Happy Printing!!
Image on: freepik.com
Image by: Racool_studio
Video shot with: Vimeo
Video by: Contrive3D

